Total Pageviews

Saturday 27 October 2012

TASK 1: ATTEMPT

        A couple of weeks ago, I had learnt how to draw heads, faces, bodies and feet. From this knowledge and practice, we were set the first assignment of the module - to utilise all of this knowledge to complete a character sheet of myself as a character from my favourite Video Game. My favourite game is Uncharted 3, however before I completed the assignment, I had an attempt in class in order to highlight where I needed to improve - that attempt is below;


   This attempt, although successful as an attempted drawing, did not fit the aims of the assignment - to draw a character as a full body sketch and a front and side view of the head. However it did offer the practice I needed for drawing myself from the front and side. I believe the head was successful, especially the side view, the proportions are perfect, but the body is a disaster now I look at it. The shoulders are too broad on the front view and the shoulders are too small on the side-view, couple this with the fact that the side view's arm is comically short and you have a drawing that is fine as a first attempt, but not good enough as to be an exhibition of the knowledge I've gained. Regardless however, the point of this was to practice and learn, in that sense this image was a astounding success.

NEXT POST: TASK 1 - YOURSELF AS A CHARACTER (HAND-IN)

LEARNING FEET

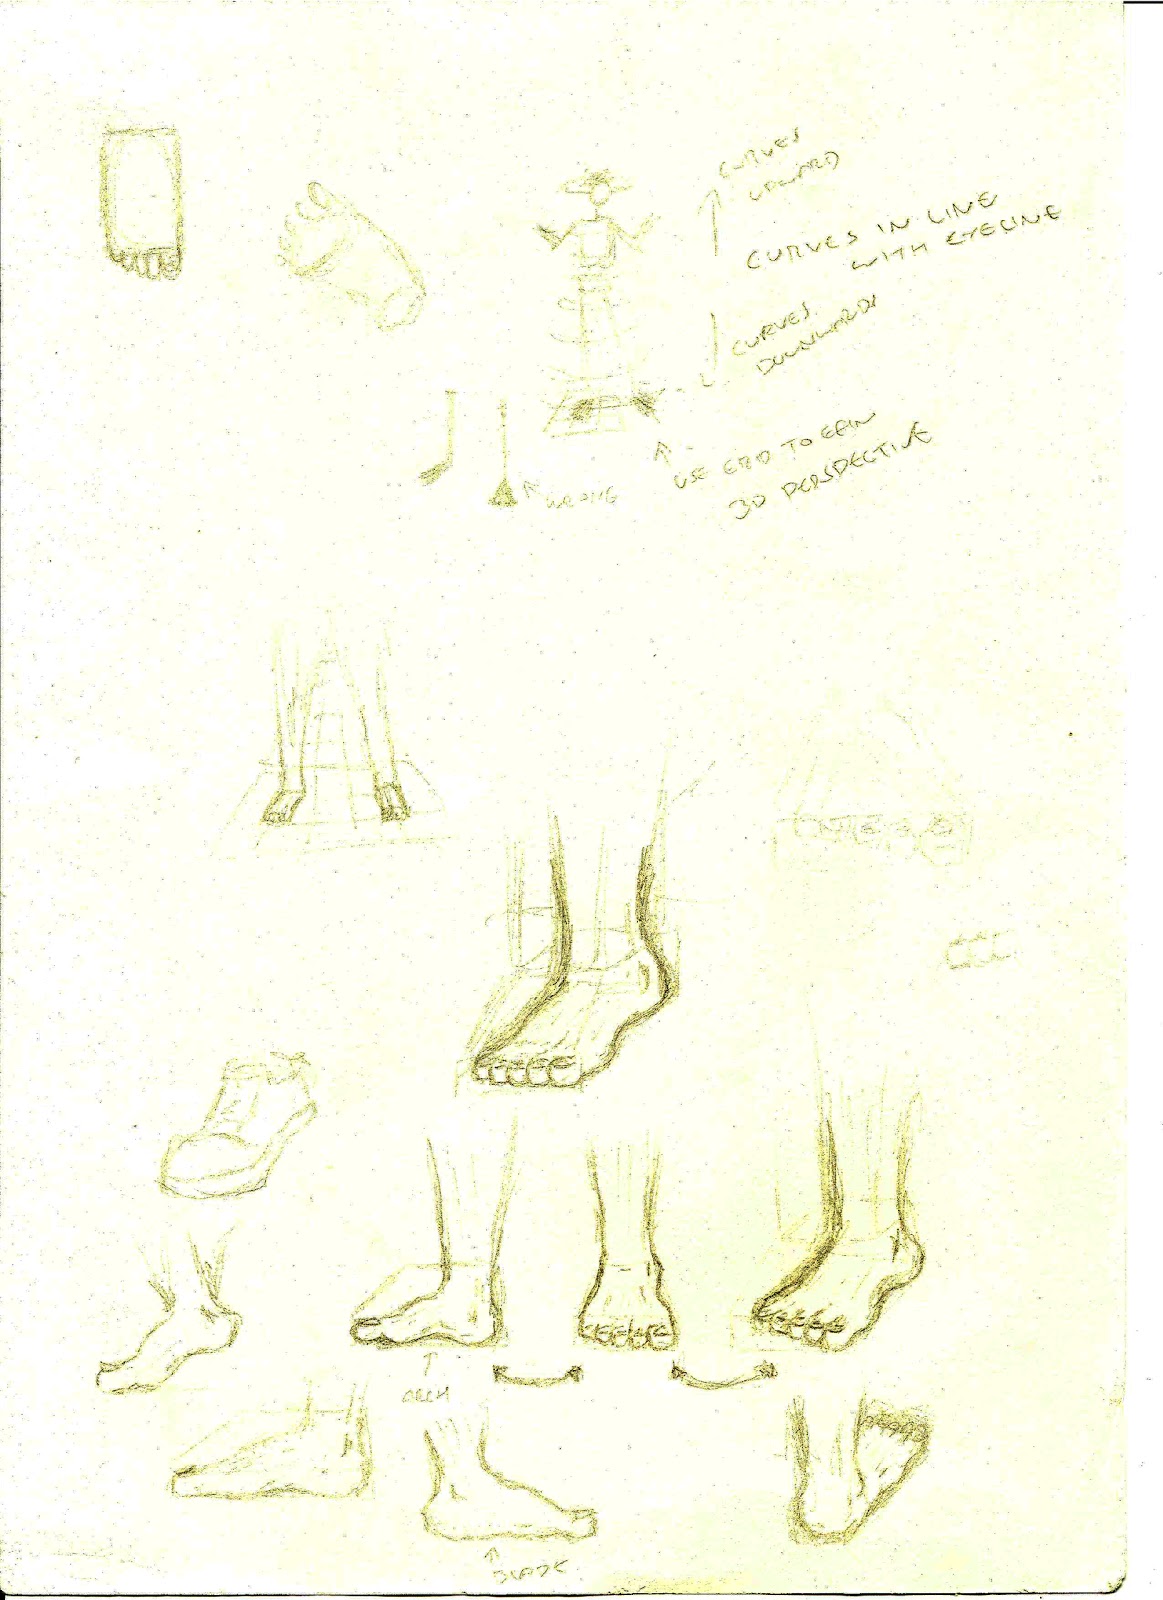
         Drawing feet is another culprit when it comes to impossible body parts to draw. Considering I always gave up drawing before I managed to get to the legs, I practically have no experience of drawing feet. Thus, this part of the workshop was incredibly useful to me. Similar to when I learnt to draw the head, the body and the hands, drawing the feet starts with the most basic of shapes until after adding the layers, becoming realistic.

   Firstly I started with the foot from above. To achieve this, a rectangle was drawn and from that, the big toe, followed by the next toe which is the same size. From this point  the rest of the toes got smaller and smaller until the smallest toe had been drawn. Then I had the side of the foot, which started with a skewed parallelogram - the shortest side being the area were the toes are. From this containing shape I could draw in the basic shape of the foot - the most important parts being the arch of the foot, the heel and the ridge. Once these had been drawn in, it was a matter of detailing the foot.
   
   Finally I had to draw a foot in a perspective view, which you can see in the middle of the scan below. Firstly, I drew the skewed parallelogram in a perspective view just like the side view. From this I drew in the toes to get an idea of the angle of the foot and then the arch and heal was drawn in considering the angle of the containing parallelogram.

   After learning these techniques, I decided to draw the same foot, from the side, the front and at an angle in order to further my skill in drawing feet. Once I start to develop my own character sheets this skill will be invaluable. 


All in all, when learning how to draw feet, I learnt;
  • The feet are made up from a rectangle or a parallelogram
  • Perspective is incredibly important when drawing feet
  • The big toe is the toe you should start with


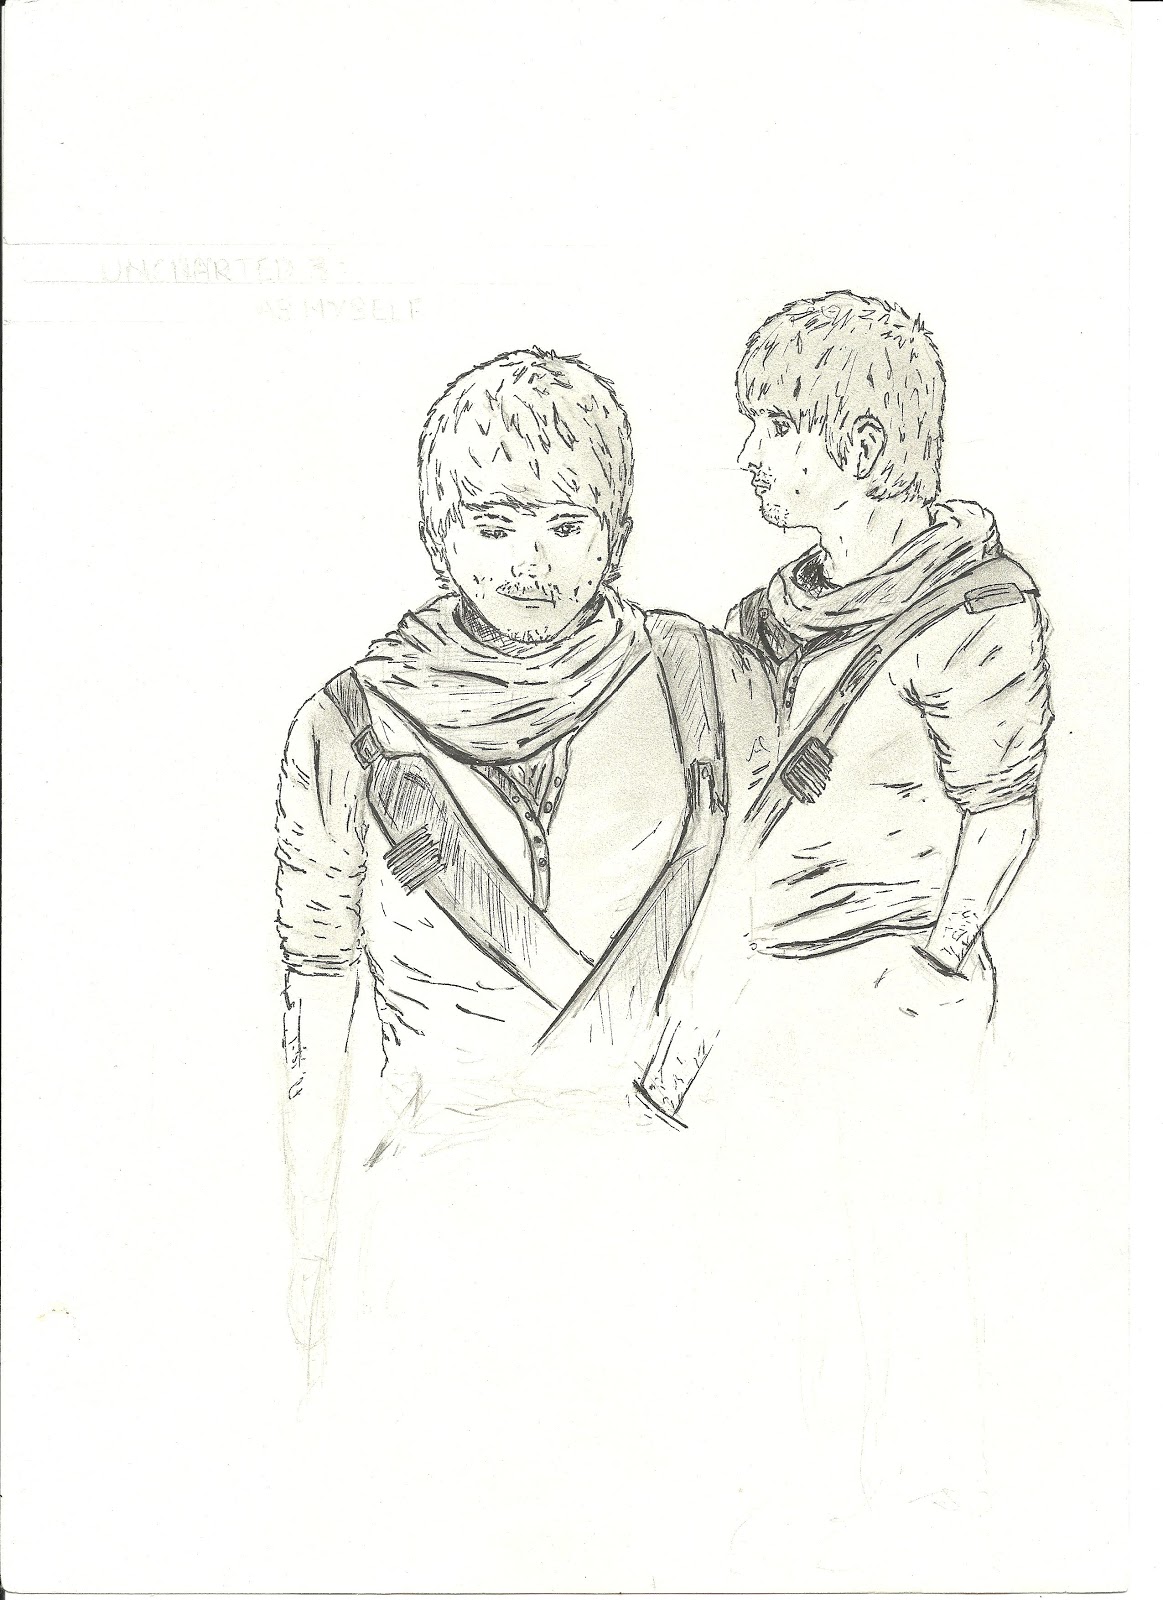
   Now I had learnt how to draw the head, the face, the body of a male and a female, the hands and the feet, I had to revise my knowledge and utilize it in the first of this modules assignments - to draw an entire character.

NEXT POST: TASK 1 - ATTEMPT

LEARNING HANDS

        Hands are one of the hardest parts of the human body to draw. The sheer complexity of the hands - the fingers sizes, the perspective and the wrinkles are all crucial in not just drawing a hand, but making it realistic.  Up until the day I was taught how to draw hands, they where a body part I avoided with a passion - if I drew a body, I'd always leave the hands for another day, which never came.

   The first part of the workshop was learning how to draw the hand itself. Much like drawing the hand and the body, I learnt you start with blocking out the positioning and basic shape of the hand. Starting with a square for the palm of the hand, a single line is drawn directly from the middle of the square as a reference for the middle finger- this is the longest finger. From the middle finger, the next two are drawn on either side, both of which are the same length. The final finger is the small finger, which is slightly smaller than the two previous fingers and finally there is the thumb. Firstly, an equilateral triangle off shooting from the side of the square is drawn, from the top of this triangle the thumb is drawn. Now the entire hand is drawn in it's basics, and all that is left to complete is the minute details to define the individual characteristics of a hand.

   We was then taught how to draw hands holding objects with two main tips - one, reference a model and two, start with the basic shapes of the hand. From those tips and the lesson in drawing the hand itself  the below practice session took place.


   In that one session, I learnt how to draw hands and how to draw hands holding objects such as a ball, a cup and a pencil. Through practicing theses I learnt not only how to draw the hand itself, but how to draw the hand at different angles and perspectives, giving me a more comprehensive knowledge on drawing the hand. Since learning and practicing, I can now draw hands without thinking too much into things, and I believe the images above highlight this success. In all I learnt;

  • The hand is built from a square, a triangle and a line
  • The middle finger is central and the longest
  • The fingers next to it are the same length
  • The thumb is an offshoot of the triangle
  • Referencing is an effective tool of practice

NEXT POST: LEARNING FEET

LEARNING BODY PROPORTIONS

        The head was always something I could comfortably sketch to some extent (until I had to draw the facial features), however the body was always a task that was easy enough until I got below the shoulders. That's when my drawings became complete failures - arms were longer than the legs, the legs were too short and the waist was always too square. Therefore in Lecture 2, where I learnt how to draw the body to proportion, I came heaps and bounds from where I was. 

   We started by drawing a entire character to measure our ability to draw the body, from there we were then taught to techniques of proportion. The first attempt is below;


   From this initial drawing, we was then told the individual proportions of the body before finally using that knowledge to practice sketching the body as a basic skeletal frame (image below). Within an hour I learnt;

  • The body is generally 8 heads in height
  • The body is generally 3 heads in width
  • The joint of the arm lands directly in the middle
  • From head to hips is the same length as from hips to feet
  • Hands should land half way down the thighs
  • The Knee is half way up the leg


   Already you can see how I'd progressed from the first body sketch. From these quick sketches I had mastered the measurements of the general human body. I now needed to draw the body from the side. However one further problem I'd always had was to differentiate a male from a female when drawing without reference images. I was taught both and practiced both in the next session.


   Two main tips were taught to me when drawing women - one, draw men with straighter lines and woman with curved lines and two, draw swimsuits on woman to get the figure correct (a personal aid the tutor used to use). From this I believe I managed to achieve the female figure, however I wouldn't call it a complete success, further practice is definitely needed. All that was needed now was to learn the hardest part of drawing the anatomy - the hands and feet.

   Overall, that one lesson in drawing has been the most useful drawing lesson I've ever had. From what I learned here coupled with what I learned the week on head proportions and facial features, I can now confidently draw any character I wish to with realism. However, I still need practice on both, as my drawings currently look like drawings completed by someone who's just taken a class in drawing basics (which I had) where as I want to be produce natural and accomplished work - the kind of work people look at an wonder how it was achieved.

NEXT POST: LEARNING HANDS

LEARNING HEAD PROPORTIONS

        The first lecture of creative thinking introduced me to drawing the head. Through drawing techniques learned in class, the structure of the head, the position of the eyes, the nose, the mouth and ears became natural to draw through the use proportion. After practicing the head in its most basic form repeatedly, I could draw the head confidently - all I needed to add were facial features. Below is my attempt at drawing heads for the first time, ignore the main drawing on the first page, it was an ice breaker for the beginning of the semester to gain insight into our own ability up to that point. It is also important to note that the first page has been developed upon since thus, they are more detailed than they originally were. 


   Here I began with the basics - drawing a circle for the skull, then a trapezium that would eventually become the jaw. From this I was taught to draw a line that interconnects both shapes for the eye-line, as they land exactly half way down the head. Half way between the eye-line and the bottom of the head another line is drawn that marks the tip of the nose, and then finally a line is drawn in between the nose and the bottom of the head for the lips. From this you could draw the facial features at their basics and then place the ears in-between the nose and eye-line. I was told not to worry about having the ears protrude from the head, and it was an effective tip.

   As you can see I experimented with the shapes and sizes of the circle and trapezium that made up the head and came out with various characters distinguishable from one another.


   Next we were taught to draw heads from the side, which in terms proportion were identical to the front view of a head - the difference here was the original shapes that make up the head. Starting with an oval rather than a circle, and a line drawn down from the side of the oval (in this case the left-side), then upwards at an angle to create a triangle for the jaw line, the head from the side was almost complete. Finally through drawing a short diagonal line from the back of the head at the same angle as the jawline then continuing it on in the opposite direction to create the back of the head and the shoulder line. Again if you look at the the image above, I experimented and came up with more characters.

   As you can also see on the scan above, I was taught how to draw eyes successfully. This is something I still haven't mastered, however, regardless of my inability to perfect the eye I believe my attempts were admirable. My last quick attempt at drawing the head was to ensure both the front and side view of the head were identical in character, shape and proportion - this way when it came to character sheets I could develop accomplished pieces of concept art. This last attempt is below;


Finally we were given the task of drawing a full head utilizing all the techniques we had learnt in the workshop. The result is below.


After learning the simple techniques to get the proportions right for the front and side of the head . In all I learnt and practiced;

FRONT-VIEW OF HEAD
  • Made up of circle and trapezium
  • Eye-line falls exactly half way down the head
  • Noise falls half way between eye-line and tip of the chin
  • Mouth falls half way between the nose and the tip of the chin
  • Ears lie between nose-line and eye-line
  • Ears can protrude from head
SIDE-VIEW OF HEAD
  • Made up of oval and triangle

NEXT POST: LEARNING BODY PROPORTIONS

Tuesday 9 October 2012

INTRODUCTION TO BLOG


        Drawing has always been something I've practiced, long before I attempted to model or design games, however I've never mastered the individual details that build realistic proportion. My artwork has always been admirable compared to most people’s standards, but my work was always inexperienced and flawed. Thus, this module is something I wasn't actually expecting and in result was pleasantly surprised when I was introduced to it. In this module I've learnt more about the art of drawing than I have done in all my years in education. In one lecture I have learnt to draw faces confidently; something I've always found difficult.

   Throughout this module blog you will see regular posts on drawings, portfolio development and personal work. You may also see a couple of miscellaneous posts that I believe relate to this module as reference for myself. You will see this through scanned images and texts.

   The purpose of this blog is to record such progress as an artist with paper based art and digital art. Couple these two together, and I hope that in 3 years time I could look back on my work and see how I've improved, be able to put together an accomplished piece of artwork, and apply it to other crafts such as 3D Modelling.

   Therefore as a starting point my first posts in this blog will show my practice with drawing the head, the body, the hands and the feet, then moving onto full body sketches and assignment work.

NEXT POST: LEARNING HEAD PROPORTIONS